One thousand and one nights tales - have you ever heard about Aladdin or Ali Baba?.. Spicy and fluffy, this cake will become a perfect treat for those who have ever visited a market of spices ... You will be very surprised to find mayonnaise as one of the ingredients but the taste will reassure you... And what to say about the home-made Orange marmalade?
This cake is not simple to prepare as we need two different fillings and an icing.
INGREDIENTS:
Servings: 8
Cake:
2 eggs
 1 glass sugar
0.5 teaspoon ginger
1 teaspoon cinnamon
200g mayonnaise
1 teaspoon baking soda
1.5 glass flour
Icing:
100g chocolate
100ml cream
Orange Marmalade:
4 oranges (about 900g)
1.5 glass of sugar
25ml rum
1 glass sugar
0.5 teaspoon ginger
1 teaspoon cinnamon
200g mayonnaise
1 teaspoon baking soda
1.5 glass flour
Icing:
100g chocolate
100ml cream
Orange Marmalade:
4 oranges (about 900g)
1.5 glass of sugar
25ml rum
 Custard:
3 egg yolks
100g sugar (5 tbs)
30g flour (3tbs)
300ml milk (1.5glass)
orange zest
First we prepare Orange Marmalade:
1.Wash the oranges with some soda as we need to use the zest as well.
2. Peel the orange skin of 1.5 oranges, just the part of orange colour. You may do that with the vegetable peeler that takes away just the upper layer of the peel.
3. Slice the peel into really thin stripes.
Custard:
3 egg yolks
100g sugar (5 tbs)
30g flour (3tbs)
300ml milk (1.5glass)
orange zest
First we prepare Orange Marmalade:
1.Wash the oranges with some soda as we need to use the zest as well.
2. Peel the orange skin of 1.5 oranges, just the part of orange colour. You may do that with the vegetable peeler that takes away just the upper layer of the peel.
3. Slice the peel into really thin stripes.
 4. Peel the oranges with the knife to get rid of the outer membrane.
5. Cut the orange segments out of the membranes, it's quite a toilsome task but think of the result and you'll be fine!!!
6. Keep the membranes aside and squeeze them through a sifter.
7. Add 1 glass of sugar to the juice that you squeezed and melt it over medium heat.
8. Add the orange peel stripes and cook them for 5 minutes. Switch off the heat and put the pan aside for 10 more minutes.
9. Add orange segments and 0.5 glass of sugar to the syrup and cook it for 40 minutes at a medium heat.
10. From time to time take away the foam that will appear and stir the marmalade.
11. At the very end add 2 tablespoons of rum and switch off the heat.
12. As you haven't prepared a big quantity of the marmalade so you may refrigerate it for some days, don't worry it won't last long.... It is absolutely perfect for breakfast!
4. Peel the oranges with the knife to get rid of the outer membrane.
5. Cut the orange segments out of the membranes, it's quite a toilsome task but think of the result and you'll be fine!!!
6. Keep the membranes aside and squeeze them through a sifter.
7. Add 1 glass of sugar to the juice that you squeezed and melt it over medium heat.
8. Add the orange peel stripes and cook them for 5 minutes. Switch off the heat and put the pan aside for 10 more minutes.
9. Add orange segments and 0.5 glass of sugar to the syrup and cook it for 40 minutes at a medium heat.
10. From time to time take away the foam that will appear and stir the marmalade.
11. At the very end add 2 tablespoons of rum and switch off the heat.
12. As you haven't prepared a big quantity of the marmalade so you may refrigerate it for some days, don't worry it won't last long.... It is absolutely perfect for breakfast!
Orange Marmalade is a fragrant filling for various cakes and transform even a plane one into a fine pastry masterpiece....
But for those lazy-ones: you may always buy a jar of orange marmalade in the supermarket....
Custard: This recipe is just for this cake. Usually they use a vanilla bean and lemon peel instead of orange peel.
1. We have already prepared the orange peel but for those who use the ready marmalade, peel just the orange part of the orange skin with the use of a vegetable peeler.
2. Heat the milk with the orange peel, but don't bring it to boiling. Use a thick bottom sauce pan for that. Keep the milk with the peel for 10 minutes to flavour it.
3. Whisk egg yolks with the sugar to a white foam with an electric mixer. You may do that with a hand whisk but then you need too much time and muscle work...
4. Sift the flour and mix it in with a hand whisk.
5. Add half a glass of milk and mix well.
6. Take the orange peel out of milk.
7. In the same sauce pan with the milk, whisk in the egg mix.
8. Over a medium heat, whisking vigorously, bring the milk and egg mix to boiling. It will thicken. Here we go: our custard is ready.
9. Transfer the custard to a bowl and cover it with plastic film making sure you stick the film to the custard surface. It will prevent it from the forming of the lumps ... Wait till the custard is cold to use it.
Now it's turn to prepare the cake layers
 1. Whisk eggs with sugar just for a couple of minutes. You don't need to use a mixer for.
2. Mix mayonnaise into the eggs.
3. Sift flour together with the baking soda and all the spices.
1. Whisk eggs with sugar just for a couple of minutes. You don't need to use a mixer for.
2. Mix mayonnaise into the eggs.
3. Sift flour together with the baking soda and all the spices.
 5. Whisk in flour little by little to the mix of eggs and mayo. The batter should be medium thick.
6. Prepare the cake pan: spread half a teaspoon of refined oil over the pan's bottom and sides.
7. Divide the batter into three parts and cook each layer of the cake in preheated oven at 250C for 7-8 minutes.
5. Whisk in flour little by little to the mix of eggs and mayo. The batter should be medium thick.
6. Prepare the cake pan: spread half a teaspoon of refined oil over the pan's bottom and sides.
7. Divide the batter into three parts and cook each layer of the cake in preheated oven at 250C for 7-8 minutes.
 8. Make sure you clean the pan after each layer.
9. Cool the layers over the cake rack.
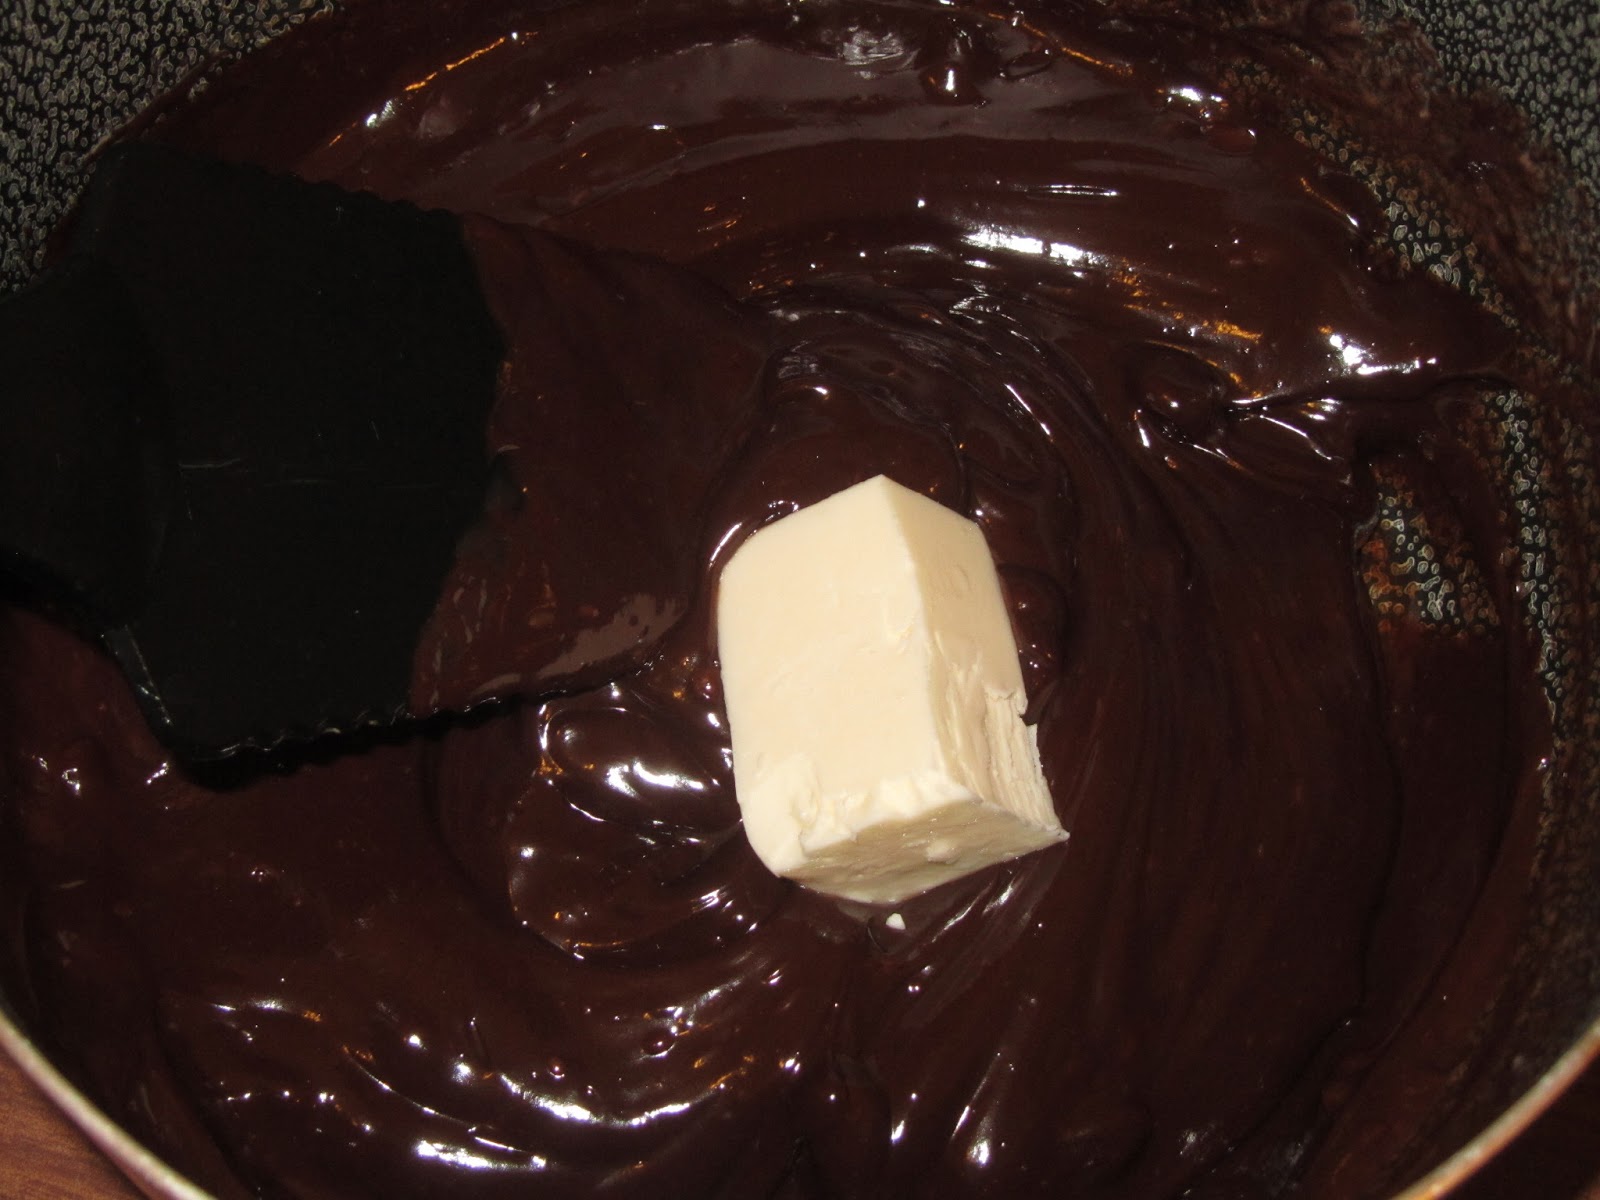
Let's melt the chocolate:
1. Break chocolate into piece, put it into a sauce pan together with the cream.
8. Make sure you clean the pan after each layer.
9. Cool the layers over the cake rack.
Let's melt the chocolate:
1. Break chocolate into piece, put it into a sauce pan together with the cream.
 2. Melt it over a low heat stirring constantly.
Let's arrange our cake finally.
1. Spread orange marmalade over the first layer.
2. Spread some custard over the marmalade and cover with the second layer. You may also spread the custard over the second layer, then turn it over and put custard on top the marmalade.
3. Repeat for the second layer, same: marmalade and custard.
4. You will still have some custard left, but you will need it later.
5. Spread the melted chocolate icing over the third layer, keeping couple of tablespoons of the icing.
2. Melt it over a low heat stirring constantly.
Let's arrange our cake finally.
1. Spread orange marmalade over the first layer.
2. Spread some custard over the marmalade and cover with the second layer. You may also spread the custard over the second layer, then turn it over and put custard on top the marmalade.
3. Repeat for the second layer, same: marmalade and custard.
4. You will still have some custard left, but you will need it later.
5. Spread the melted chocolate icing over the third layer, keeping couple of tablespoons of the icing.
 6. Mix custard with the chocolate.
7. With a use of a table knife (the one that doesn't cut) cover the borders of the cake with the chocolate custard.
I used a fancy cake form, so this stage was really laborious... But if you've used a plane round cake pan it will be like a piece of cake.... nice pun, huh? :-)
8. Decorate the cake with some orange peel and keep it in fridge.
6. Mix custard with the chocolate.
7. With a use of a table knife (the one that doesn't cut) cover the borders of the cake with the chocolate custard.
I used a fancy cake form, so this stage was really laborious... But if you've used a plane round cake pan it will be like a piece of cake.... nice pun, huh? :-)
8. Decorate the cake with some orange peel and keep it in fridge.
I don't have anything to add... Enjoy!!!!