If you tried Royce' Nama Chocolate at least once, you will never forget it, even if you are not a chocolate eater like me...
It has such a smooth and creamy taste and it litterally melts in your mouth in a second, leaving you in a perfect bliss....
Nama means "fresh" or "raw" in Japanese, so this chocolate is kept in the fridge.
If in your country Royce' chocolate is not easy to find as here in Italy, forget of running around the city: you may prepare Nama chocolate at home!!!
INGREDIENTS:
Servings: 18-24 chocolates
 300g dark bitter chocolate 50% cocoa min.
150ml whipping cream 35% fat min.
25g butter
2-3tbs liqueur
1. Cut the chocolate bar into small pieces with the use of a sharp knife (better a wide one).
 2. Prepare a pot for double boiling, you may need it just for a couple of minutes, so don't boil a lot of water.
3. Heat the cream in the microwave or anyhow: it should be very hot but shouldn't boil.
4. Pour the cream to the bowl with the chocolate bits and stir carefully with a silicon or plastic scoop.
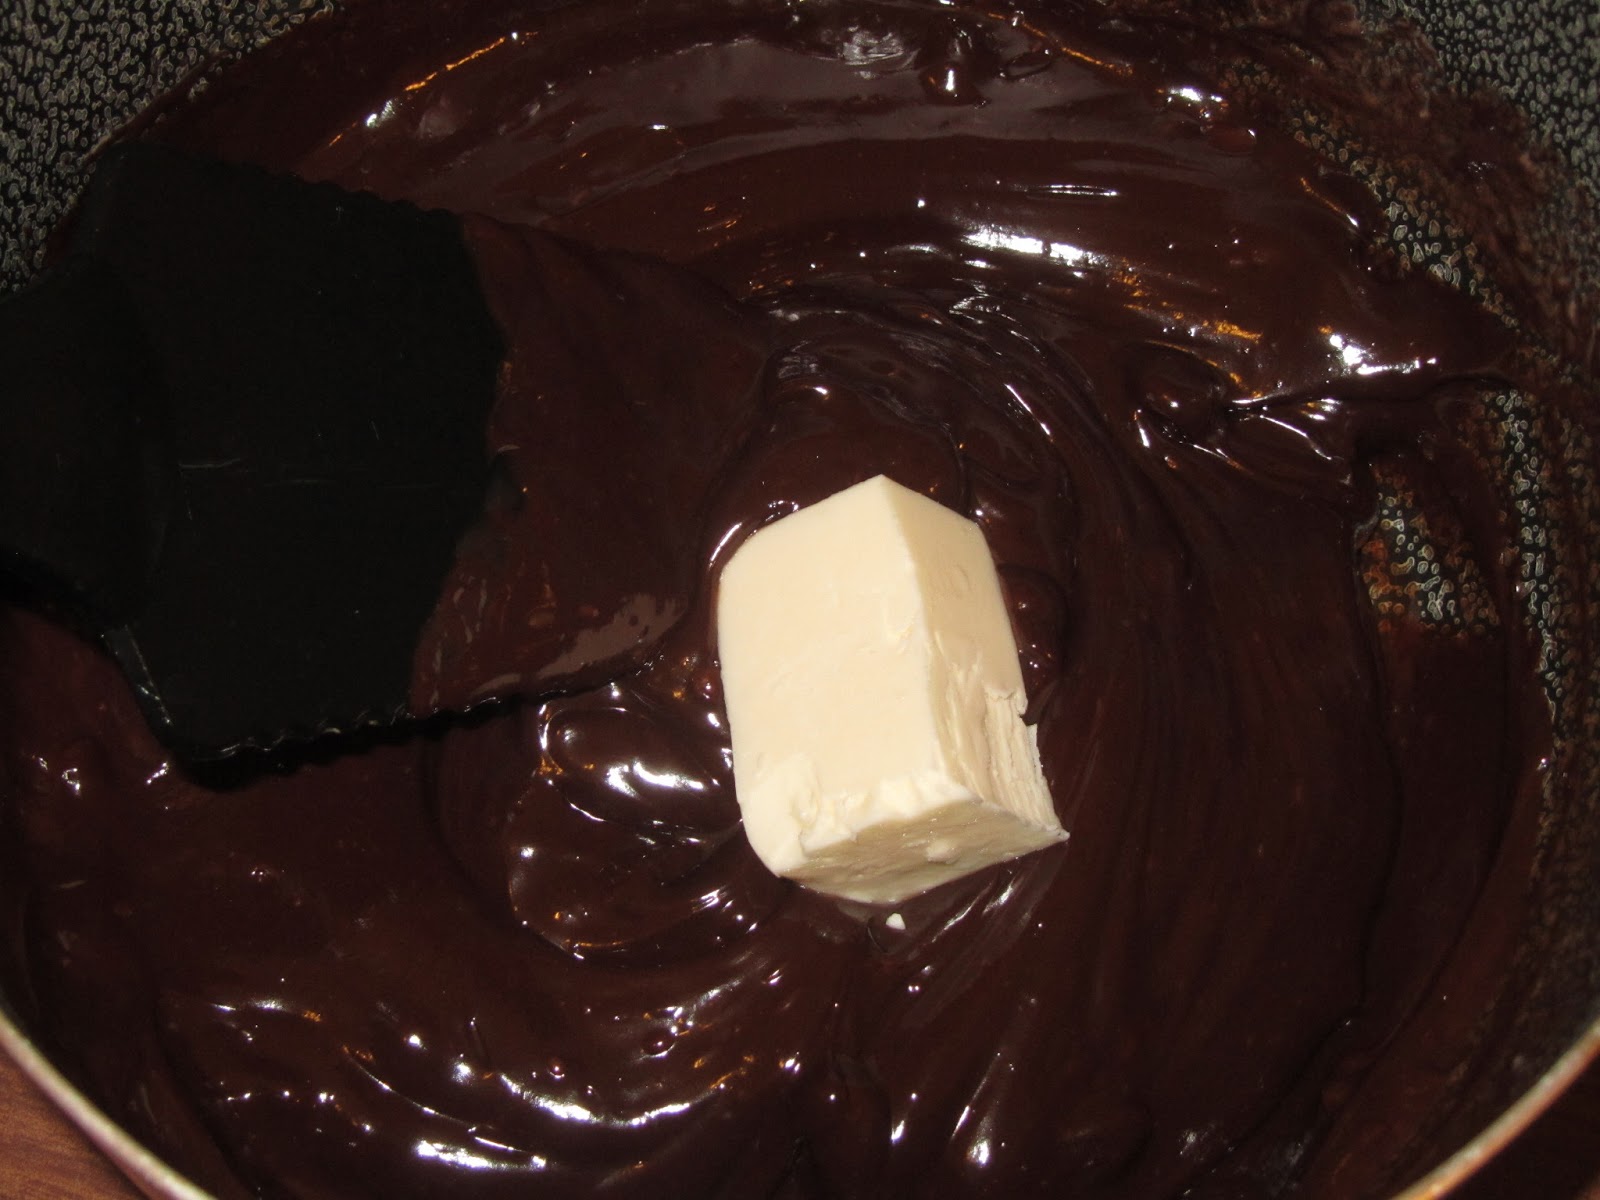
5. Add butter and continue stirring.
6. At this point you may need to use the double boiling for a couple of minutes to finish the chocolate melting.
Note: Stir constantly!!!
Note: Don't overheat the chocolate ganache as it may split.... Remove the bowl from double boiling if you see that the mix is getting too hot or starts splitting.
7. Stir your favourite liqueur in the chocolate ganache.
8. Prepare a small tray or even a plastic container, which inner side you will carefully dress with the plasic film. I used 10x18cm plastic container for the amount of the chocolate ganache I prepared.
Note: The size of the tray will result in the thickness of the chocolates. With the tray size I used the chocolates resulted in being 2cm thick - perfect!
7. Pour chocolate ganache into the lined tray and level it well.
8. Refrigerate the chocolate for 1.5 hour.
9. Remove the tray from the fridge and pooling the sides of the plastic film outside, remove the chocolate out of the tray.
 10. Place the chocolate bar on a sheet of oven paper to avoid sticking it to the cutting board.
11. Use a warm and dry knife to cut the perfect size chocolates.
Note: You may keep the tap hot water running and heat your knife each time you cut the chocolate, you also need to dry the knife carefully every time you heat it under the hot water.
Note: I cut the chocolate bar into 18 chocolates but it's also enough to cut into 24 pieces.
 12. Sift the chocolate with the cocoa powder over, turn them with the use of a wide knife and sift the cocoa powder over again.
13. If you want to coat some chocolates with the crushed nuts (almonds, walnuts,...), separate the chocolates with a paper sheet before sifting cocoa powder over.
Note: As the original Royce' Nama chocolates are sold in boxes I also used a nice box for presentation. This way the chocolates become a precious gift to your beloved or your friends....
15. Refrigerate your chocolate to store them if after the tea time you have any left....
Itadakimasu!!!
 I was chatting to my friend the other day, she works at a very successful bakery in Rome and I was asking if, among all those wonderful cakes, they also prepare cheesecakes. And even if cheesecakes were asked by the clients very often, alas, this bakery is not producing them.... Sigh, even my friend never tried any cheesecake! How come??
So, this one I prepared especially for her and the family...
There are two points of view about the method of the Cheesecake preparation: those who think that the baked ones are better and those, like me, who prefer "no bake" recipe!!
Cheesecake is one of my favourite cakes and I try to vary the ingredients: this one is no bake banana and strawberries!
INGREDIENTS:
Servings: 8
250g biscuits
 100g butter
200ml whipping cream
300g Philadelphia cheese
150g Greek yogurt
2 medium bananas
14g gelatine
400g strawberries
6-8 tbs sugar
some mint leaves
 1. Process biscuits till they are crushed finely.
Note: I used the Italian almond cookies called "Cantucci", but you may use any short-breads you have.
2. Melt butter in microwave till it's liquid.
3. Mix biscuit crumbs with melted butter.
4. Use a spring-form mould, 20cm in diameter, cut a circle out of baking paper that perfectly fit in it. This facilitate the cake removal later.
 Note: This is my first time using a new adjustable cake ring. As you may see from the name it's just a ring, it doesn't have any bottom, but the great thing about this bakeware is that you can adjust the diameter between 16 and 32 cm. I think it's absolutely amazing to have a possibility to vary cake size just using one ring!!!
So, I used the serving dish that I chose for the cake and dressed the ring bottom with baking paper as I said before.
5.Put the biscuits to the ring / mould and using a spoon or a small glass press it to the bottom to create a base about 1cm think.
6. Refrigerate the cake base for the time you prepare the cream.
 7. Soak 8g of gelatin in cold water for 5-10 minutes.
8. Peel bananas and process them with yogurt.
9. Keep one third of the mix in the blender glass and transfer the rest to a big bowl.
10. Add Philadelphia cheese to the blender with banana puree and process it all together.
Note: This time I used low fat Philadelphia...
11. Add the cheese mix to banana in the bowl and mix well with a spatula or just a tablespoon.
12. Whip the cream and add some sugar if needed.
Note: I usually try to avoid using whipping cream as my husband is intolerant to some of dairy products, so in this recipe I substituted whipping cream for sweetened vegetable cream with the same result.
13. Add whipped cream to the cheese and banana mix and using a spatula (tablespoon) integrate it well with the down to up movements.
14. Try the cheese cream and add 3-4 tbs of sugar if you like it sweeter.
Note: I usually go by taste in this recipe.
15. Squeeze gelatine sheets to remove the water and put them in a small bowl. Melt gelatin in a microwave oven for about 25-30 seconds.
16. Whisk melted gelatin into the cream mix.
17. Cut 12 small strawberries into halves.
 18. Display strawberries leaned to the mould sides with the same distance one from the other.
19. Pour the cream into the mould that you removed from the fridge. Refrigerate for the time you prepare the strawberry mousse.
 20. Process strawberries with 3-4 tbs of sugar to have a smooth mousse. Keep the most beautiful from the medium strawberries for decoration.
21. Squeeze and melt 6g of gelatin as described earlier.
22. Incorporate gelatin into strawberry mousse.
23. Pour strawberry mousse into the cake mould over the banana cream that already set a little.
 Note: Be careful while leveling out the strawberry mousse over the cream.
24. Cover the mould with a plastic foil and refrigerate the cake overnight.
25. Take the cake out of the mould: to do so you may either try opening the spring-form carefully taking care of not breaking the cake side, or if the cake doesn't want to come out of the mould you may use a hot knife and carefully pass it over the cake's edge.
26. Decorate your cheesecake with strawberries that you kept and some mint leaves.
ENJOY !!!!!
Custard is a typical cream that can find different uses in the pastry making or dessert serving.
 INGREDIENTS:
3 egg yolks
100g sugar (5 tbs)
30g flour (3tbs)
300ml milk (1.5glass)
orange peel
Note: Usually they use a vanilla bean and lemon peel for Custard. So if you want you may use lemon peel instead of orange. And add the Vanilla bean seeds or just some Vanilla extract...
1. Peel
the orange part of the orange skin with the use of a vegetable peeler.
2. Heat
the milk with the orange peel, but don't bring it to boiling. Use a
thick bottom sauce pan for that. Keep the milk with the peel for 10
minutes to flavour it.
3. Whisk egg yolks with the sugar to a white foam with an electric mixer. You may do that with a hand whisk but then you need too much time and muscle work...
4. Sift the flour and mix it in with a hand whisk.
5. Add half a glass of milk and mix well.
6. Take the orange peel out of milk.
7. In the same sauce pan with the milk, whisk in the egg mix.
8. Over a medium heat, whisking vigorously, bring the milk and egg mix to boiling. It will thicken. Here we go: our custard is ready.
9. Transfer the custard to a bowl and cover it with plastic film making sure you stick the film to the custard surface. It will prevent it from the forming of the lumps ... Wait till the custard is cold to use it.
What about a creamy soup without cream? And what about a nice orange colour to enliven you mood in rainy weather? This recipe can be enriched with many different extras if you don't mind having more calories in your food.
INGREDIENTS:
Servings: 4
800g pumpkin
2 carrots
1 celery
1 small onion
1 big potato
salt
bay leaf
chilli to taste
EVO oil
1. Slice onion and cut into pieces carrots and celery.
2. Pour some EVO oil in a saucepan and brown the veges a bit.
3. Peel pumpkin and potato and cut them into medium cubes.
4. Add pumpkin, potato, bay leaf and some chilli to taste to the browned veges and pour about 750-800 ml of vegetable broth (you may use water and veg stock).
5. Cook at a medium heat for about 40 minutes, to see if it's ready, try to smash with a fork a carrot piece, as it's the most hard to cook, it should be soft.
6. Keep aside for a bit. Then smash everything with a blender.
Note: you may enrich the dish with some cream at this stage.
7. Add some salt if needed.
8. If you had some pumpkin seed with it, you may roast them on aluminum foil in the oven, peel them and add to the dish as a decoration.
I also use a rosemary sprig for decoration and to add some more flavour to the dish. Enjoy!!!
Note: You may also add some bread croutons to the dish...