I love holidays!!! Any holiday... especially when a "just on the calendar" holiday coincides with a Holiday! 1st of May is a day of all working people but it is also My Dad's Birthday!
Even if I am far away from you on your holiday, daddy, I dedicate this cake to you! You used to like it when I baked it ....
Don't get puzzled about the ingredients, the result will surprise you. Some people ask if the cake has any even slight mayo taste: I may assure you - this cake has a CAKE taste!!!
INGREDIENTS:
Servings: 8-12
1 can concentrated sweet milk
 250g mayonnaise
4 eggs
1.5 glass sugar + 3-4tbs
2 glasses flour
1 teaspoon baking powder
800g sour cream / Greek Yogurt (10% fat)
+ sugar for the cream (to taste)
1 can peaches in syrup
50g almonds
cake gel / cake glue
First thing to do is to drain the sour cream or Greek yogurt. I used the yogurt as it is very difficult to find sour cream in Italy.
Note: Greek yogurt has almost same texture and even wins in fat percentage: instead of 18-20% of fat in sour cream, in yogurt there is only 10% of fat (you may try the lower fat versions of Greek yogurt but to my mind it will be too much, reducing the fat in yogut will result in more liquid texture).
250g mayonnaise
4 eggs
1.5 glass sugar + 3-4tbs
2 glasses flour
1 teaspoon baking powder
800g sour cream / Greek Yogurt (10% fat)
+ sugar for the cream (to taste)
1 can peaches in syrup
50g almonds
cake gel / cake glue
First thing to do is to drain the sour cream or Greek yogurt. I used the yogurt as it is very difficult to find sour cream in Italy.
Note: Greek yogurt has almost same texture and even wins in fat percentage: instead of 18-20% of fat in sour cream, in yogurt there is only 10% of fat (you may try the lower fat versions of Greek yogurt but to my mind it will be too much, reducing the fat in yogut will result in more liquid texture).

 1. Use a medium colander which you will cover with a clean kitchen towel. Then pour all the cream / yogurt inside and keep aside for 3-4 hours or the time necessary to bake and cool the cake layers. You will see how much whey it will drain....
And now we prepare the cake itself:
2. Whisk the eggs with 1.5 glass of sugar till it doubles in volume.
3. Add concentrated sweetened milk to the eggs and whisk it in.
1. Use a medium colander which you will cover with a clean kitchen towel. Then pour all the cream / yogurt inside and keep aside for 3-4 hours or the time necessary to bake and cool the cake layers. You will see how much whey it will drain....
And now we prepare the cake itself:
2. Whisk the eggs with 1.5 glass of sugar till it doubles in volume.
3. Add concentrated sweetened milk to the eggs and whisk it in.
4. Add mayo and mix well.
5. Sift flour with the baking powder and add it some by some to the egg mix and stir well.
This is how the batter will be when all the ingredients are in.
6. Heat the oven to 220C.
7. I used a silicon mould of 23cm in diameter but you may use any, in this case cut the circles out of the baking paper to fold the bottom of the mould. If you use a silicon mould just grease the bottom with some vegetable oil and clean it with a paper towel each time you bake.
8.To bake 5 layers pour 7 tbs of the batter to the mould and bake at 220C for 5 minutes or until it's brown on the top.
Note: To bake 6 layers, ust reduce the quantity of the tablespoons of the batter to 6 per each layer.
Note: This kind of batter raises a lot.
9. Cool each layer over the cake rack or the "net lid", the one that is use to cover the frying pans in order to avoid splashes of oil.
Let's prepare the cream:
10. Mix the drained sour cream / yogurt with 3-4 tbs of sugar, the cake is quite sweet itself so don't overdo with sugar!
And finally we assemble the cake:
11. Spread some cream over the first layer which you placed over a nice dish (the one that you will use to serve it)
12. Take the peaches out of their syrup and cut one in tiny pieces.
13. Spread the peach bit over the cream.
14. Cover with the second layer of the cake and repeat with the cream and peach.
15. Don't add any peach on the top of the cake but cover well with the cream.
16. Spread the rest of the cream over the sides of the cake.
17. Crush almonds into medium small grains.
18. Use the almond crush to cover the sides of the cake.
19. Decorate the top of the cake with the peaches as your fantasy suggests you better.
To make the peach roses:
- slice the peach as thin as possible and dry the slices with a paper towel,
- roll the first slice tightly and start envelope the other slices around,
- place the rose on the cutting board with the edges of the peach around to fix the shape,
- fix the rose with a cake transparent gelatine used to frost the cakes,
- remove the peach edges from the rose and transfer it onto the cake.
Note: You may ask any florist for some real rose leaves (in any case they through them away) or do I did and use the lemon leaves or any other that are not toxic.
 Note: To use the leaves, wash them carefully and clean with a paper towel soaked in vegetable oil. This will clean the leaves better and will render them more shining and attractive.
ENJOY !!!
Easter has passed and in every house there still are many boiled eggs left. This is an easy way of recycling the Easter eggs. Or if you found my recipe in other period, try this appetizer just boiling some eggs...
These stuffed eggs may be a nice insertion to the buffet party snacks, they are easy to grab and give space to your decoration ideas.
INGREDIENTS:
Servings: 2
 4 eggs
2 tbs Greek yogurt
1-2 garlic clove
salt
paprika (optional)
4 eggs
2 tbs Greek yogurt
1-2 garlic clove
salt
paprika (optional)
 1. Peel the eggs and cut them into halves.
2. Take the yolk out and smash it with a fork.
1. Peel the eggs and cut them into halves.
2. Take the yolk out and smash it with a fork.
 3. In a bowl mix the yolks with the Greek yogurt, pinch of salt, some paprika (optional).
Note: You may substitute Greek yogurt with some mayonnaise.
4. Squeeze the garlic clove into puree and add it to the egg yolks.
3. In a bowl mix the yolks with the Greek yogurt, pinch of salt, some paprika (optional).
Note: You may substitute Greek yogurt with some mayonnaise.
4. Squeeze the garlic clove into puree and add it to the egg yolks.
 5. Whisk the mix a bit with a fork to create a smooth paste.
6. Fill the egg whites' halves with the yolk paste.
5. Whisk the mix a bit with a fork to create a smooth paste.
6. Fill the egg whites' halves with the yolk paste.
7. You may decorate the eggs with green peas, parsley or some paprika.
Bon appetit!!!
This is a nice way of using the eggs left after the Easter feast...
The name of this salad is Mimosa as it has a nice yellow decoration on top made out of the egg yolks that resembles the beautiful flowers.
This salad is a classical Russian layered salad seasoned with the mayonnaise. For those who think that mayonnaise is very caloric: use the one I use - low fat! It only has 270 kcal per 100g... Or you may use the Greek yogurt as seasoning, but then salt the layers a bit.
INGREDIENTS:
Servings: 3
1 tuna can with oil
2-3 carrots
2-3 potatoes
3 eggs
~100ml mayonnaise
1. Boil carrots and potatoes in their jackets. Boil the eggs. I used my Onion Skin coloured Easter eggs, the recipe is HERE. Cool the veges and eggs down.
Note: The vitamins and minerals don't disperse that much while boiling vegetables in their jackets.
2. Drain just half of the oil from tuna can.
3. Smash tuna with a fork into puree.
4. Grate carrots and potatoes with a thin grater and keep them apart in separate bowls.
5. Grate the eggs' whites the same way and keep the yolks untouched.
You will need a cooking ring, that is a steel short tube of a diameter of about 10cm, you easily find them in commerce. If you want you may use the smaller rings, so you will have more servings.
Note: Originally this salad was prepared over a big dish or inside a big bowl. I suggest an original recipe and a modern way of presentation.
Note: For those who don't have the ring, don't worry!! Take a 1.5l plastic bottle and cut a ring off. You will see in my pictures.
6. Oil the ring inside for an easy removal.
7. Put the ring over the dish or plate you are going to serve the salad.
8. First layer will be tuna. Divide tuna into three part as we are preparing three servings.
Note: You may use three rings at the same time. So you can just distribute the ingredients in three.
9. Second layer: grated egg white and after that comes 1 teaspoon of mayonnaise (just for the 10cm ring serving).
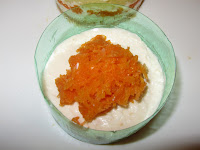 10. Next you put the grated carrot and 1 teaspoon of mayo again.
 11. The last layer is the grated potatoes and 1 teaspoon of mayo again.
12. As a decoration we will use the egg yolk. Grate 1 yolk into each ring carefully.
11. The last layer is the grated potatoes and 1 teaspoon of mayo again.
12. As a decoration we will use the egg yolk. Grate 1 yolk into each ring carefully.
 Here is one more decoration for the dish: a pickled cucumber rose.
13. To remove the ring, turn it carefully from side to side and then slowly rise it.
14. It is better to refrigerate the salad overnight or at least for some hours before serving.
Here is one more decoration for the dish: a pickled cucumber rose.
13. To remove the ring, turn it carefully from side to side and then slowly rise it.
14. It is better to refrigerate the salad overnight or at least for some hours before serving.
ENJOY !!!
This layered salad is pronounces in Russian as "selyòdka pad shoùbay" and that really means "Herring under a Fur coat". They also abbreviate it to "Shoùba", e.i. "Fur coat".
Shoùba is a winter salad and especially used for a New Year celebration, it is quite beautiful and has a rich taste. They also say it's necessarily accompanied by a Vodka shot.
INGREDIENTS:
Servings: 4
1 smoked/salted herring
2-3 potatoes
2-3 carrots
1 big beetroot
2 eggs
1/2 onion
225ml mayonnaise
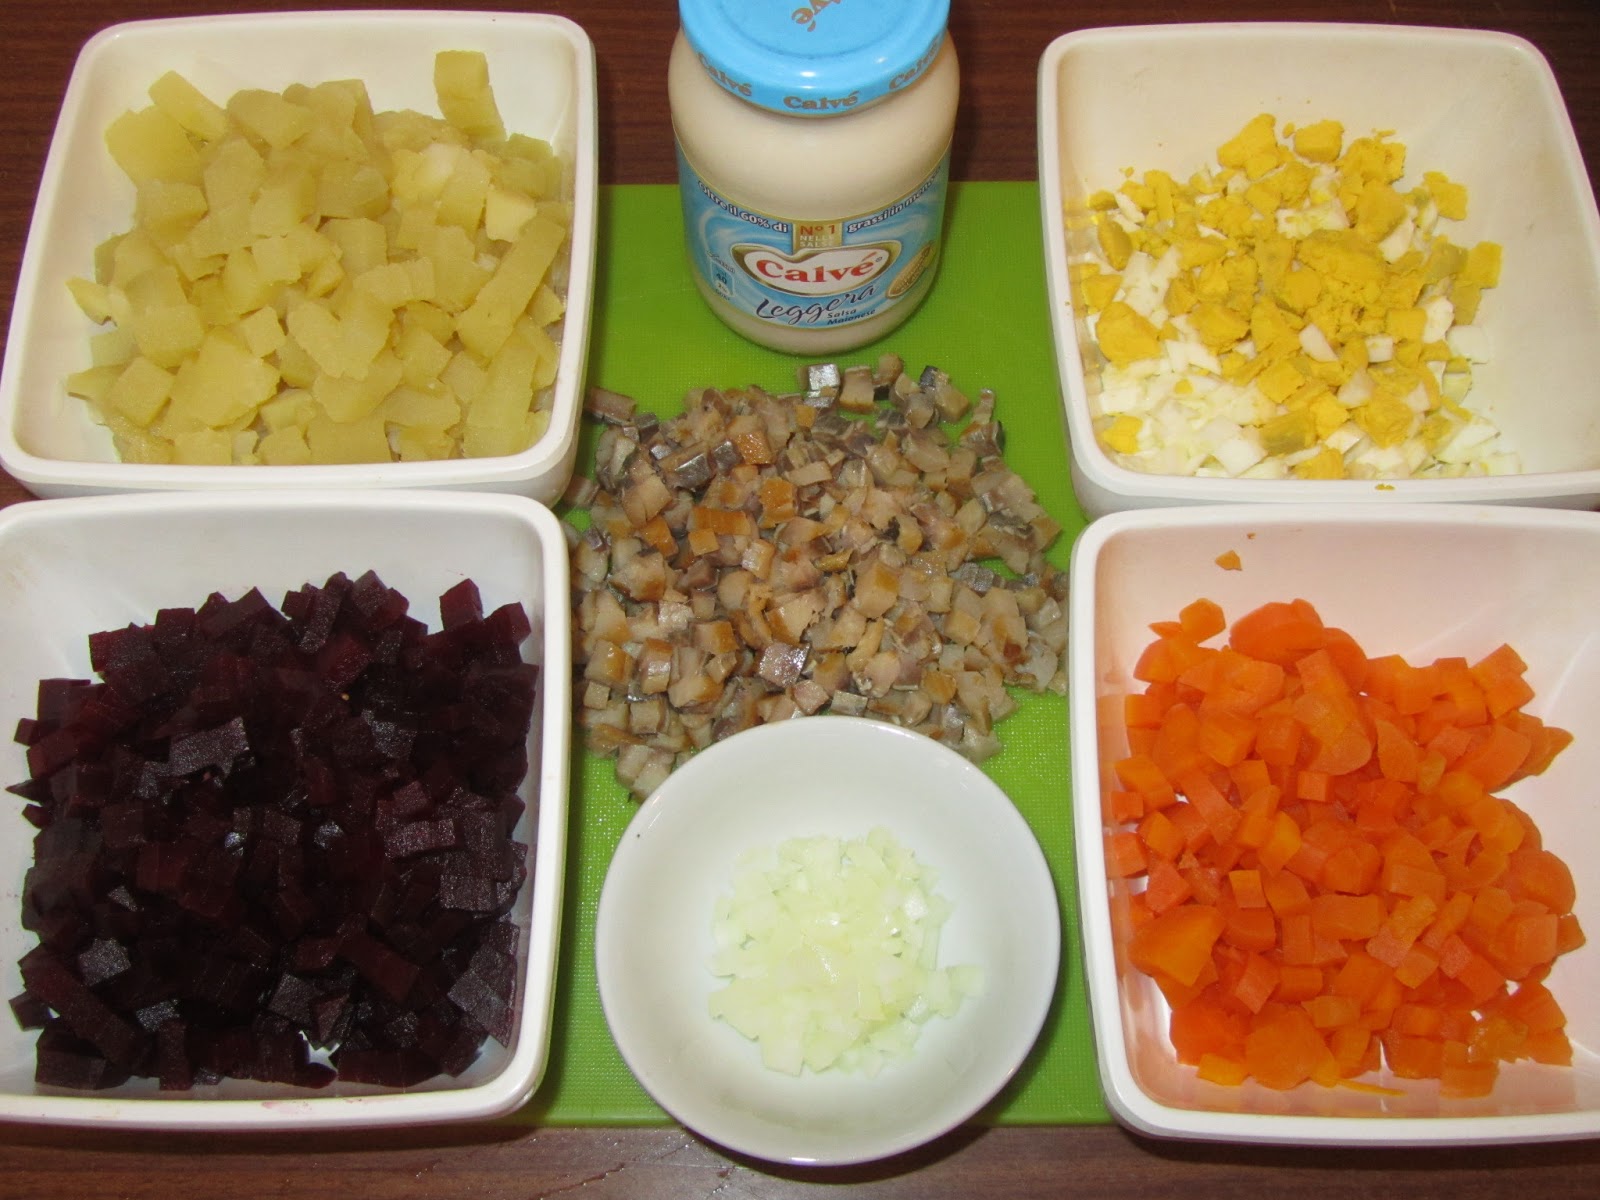
1. Boil potatoes and carrots in their jackets, when they are ready cool them down and peel.
2. Boil beetroots the same way.
3. Boil eggs and cool them down.
4. If you take a whole herring then you need to peel it and take away all the bones. And if you have a herring fillet then just cut it into tiny pieces.
5. Cut all the other ingredients in small pieces and keep them each in a separate bowl.
Note: Some other variations of this recipe advise to grate the ingredients, though in the original version the ingredients are chopped into tiny cubes.
6. Chop onion finely and if don't like it's strong taste, soak it in boiling water for couple of minutes and squeeze it. Some people don't like onion taste in this salad, if you are one of those, then don't put it!
7. Let's start forming our salad, you need to spread every ingredient as a layer in this sequence:
 - herring.
- onion
- mayonnaise
- potatoes
- mayonnaise
- herring.
- onion
- mayonnaise
- potatoes
- mayonnaise
 - carrots
- eggs
- mayonnaise
- beetroots
- mayonnaise (a bit more)
You need to slightly salt each layer.
8. Press the top of the salad with the wet hands to create a kind of dome.
9. Refrigerate the salad for some hours in order for it to get soaked well into mayonnaise and get chilled well to cut it easily and show nicely the layers.
10. You may decorate the salad right before serving with either some grated egg yolk or some chopped parsley and dill. Serve as a slice of a cake.
- carrots
- eggs
- mayonnaise
- beetroots
- mayonnaise (a bit more)
You need to slightly salt each layer.
8. Press the top of the salad with the wet hands to create a kind of dome.
9. Refrigerate the salad for some hours in order for it to get soaked well into mayonnaise and get chilled well to cut it easily and show nicely the layers.
10. You may decorate the salad right before serving with either some grated egg yolk or some chopped parsley and dill. Serve as a slice of a cake.
Note: I prepared the original version and original layout of this salad but we are modern people and I suggest to try to compose the salad in small ring-form as a single portion, this way the layers will be presented really nicely.
Note: For those who don't have such a kitchen tool, you may cut a big plastic bottle into a 10cm high ring.

 250g mayonnaise
 1. Use a medium colander which you will cover with a clean kitchen towel. Then pour all the cream / yogurt inside and keep aside for 3-4 hours or the time necessary to bake and cool the cake layers. You will see how much whey it will drain....


 Note: To use the leaves, wash them carefully and clean with a paper towel soaked in vegetable oil. This will clean the leaves better and will render them more shining and attractive.