Showing posts with label egg. Show all posts

Saturday, 11 May 2013

Asparagus Omelette oven cooked

Fluffy and airy with it's delicious crust, this omelette can be served for a Sunday brunch or as a light dinner. The asparagus tips remain naturally crunchy, if you like them softer, you may cook them a bit with the rest of the asparagus.  


INGREDIENTS: 
Servings: 2

300g asparagus
4 eggs
1/2 glass milk
100g Parmigiano cheese
salt
pepper
EVO oil


1. Wash and peel asparagus.
2. Keep the tips and cut the rest into thin wheels.


3. In a big bowl mix together eggs, milk, grated Parmigiano, some salt and pepper.


4. Cook the asparagus wheels with some oil, salt and pepper till they are slightly browned. 

5. Oil a cake pan and transfer the asparagus into it.
6. Pour the egg mix over the asparagus.

 
 7. Decorate the omelette with the asparagus tips any style you like.      

8. Cook the omelette in a preheated oven at 220C for 15 minutes.


ENJOY !!!

Monday, 1 April 2013

Stuffed Eggs

Easter has passed and in every house there still are many boiled eggs left. This is an easy way of recycling the Easter eggs. Or if you found my recipe in other period, try this appetizer just boiling some eggs... 
These stuffed eggs may be a nice insertion to the buffet party snacks, they are easy to grab and give space to your decoration ideas. 


INGREDIENTS: 
Servings: 2
 
4 eggs
2 tbs Greek yogurt
1-2 garlic clove
salt
paprika (optional)


1. Peel the eggs and cut them into halves.
2. Take the yolk out and smash it with a fork.


3. In a bowl mix the yolks with the Greek yogurt, pinch of salt, some paprika (optional).
Note: You may substitute Greek yogurt with some mayonnaise.
4. Squeeze the garlic clove into puree and add it to the egg yolks.

 
5. Whisk the mix a bit with a fork to create a smooth paste.
6. Fill the egg whites' halves with the yolk paste.
7. You may decorate the eggs with green peas, parsley or some paprika.   
     Bon appetit!!!

Tuna Layered Salad - Russian Mimosa Salad

This is a nice way of using the eggs left after the Easter feast...
The name of this salad is Mimosa as it has a nice yellow decoration on top made out of the egg yolks that resembles the beautiful flowers.
This salad is a classical Russian layered salad seasoned with the mayonnaise. For those who think that mayonnaise is very caloric: use the one I use - low fat! It only has 270 kcal per 100g... Or you may use the Greek yogurt as seasoning, but then salt the layers a bit.  


INGREDIENTS:
Servings: 3
 
1 tuna can with oil
2-3 carrots
2-3 potatoes
3 eggs
~100ml mayonnaise


1. Boil carrots and potatoes in their jackets. Boil the eggs. I used my Onion Skin coloured Easter eggs, the recipe is HERE.  Cool the veges and eggs down.
Note: The vitamins and minerals don't disperse that much while boiling vegetables in their jackets. 

2. Drain just half of the oil from tuna can.
3. Smash tuna with a fork into puree.
4. Grate carrots and potatoes with a thin grater and keep them apart in separate bowls.
5. Grate the eggs' whites the same way and keep the yolks untouched.

 You will need a cooking ring, that is a steel short tube of a diameter of about 10cm, you easily find them in commerce. If you want you may use the smaller rings, so you will have more servings.

Note: Originally this salad was prepared over a big dish or inside a big bowl. I suggest an original recipe and a modern way of presentation.
 
Note: For those who don't have the ring, don't worry!! Take a 1.5l plastic bottle and cut a ring off. You will see in my pictures.  

6. Oil the ring inside for an easy removal.
7. Put the ring over the dish or plate you are going to serve the salad.
8. First layer will be tuna. Divide tuna into three part as we are preparing three servings
Note: You may use three rings at the same time. So you can just distribute the ingredients in three.


9. Second layer: grated egg white and after that comes 1 teaspoon of mayonnaise (just for the 10cm ring serving).


10. Next you put the grated carrot and 1 teaspoon of mayo again.


11. The last layer is the grated potatoes and 1 teaspoon of mayo again.


12. As a decoration we will use the egg yolk. Grate 1 yolk into each ring carefully.


Here is one more decoration for the dish: a pickled cucumber rose.


13. To remove the ring, turn it carefully from side to side and then slowly rise it. 
14. It is better to refrigerate the salad overnight or at least for some hours before serving.


  ENJOY !!!


Sunday, 31 March 2013

Italian Easter Pie - Torta Pasqualina

Easter festivity cannot be celebrated without eggs. So the recipe of this pie also include whole eggs. Besides being a religious holiday Easter is also the symbol of the forthcoming spring. And so we add spinach to the pie.  
The original recipe is prepared with the chards, instead of spinach and the pie is completely covered with the brisèe dough. But I like it the way I suggest.  


INGREDIENTS:
Servings: 8

500g spinach or chard (better)
350g ricotta cheese
4+1 eggs
250g Brisèe dough
pinch of salt


1. Sautèe the spinach with some oil and salt.
2. Chop the sauteed spinach into small pieces.


3. Mix the spinach with 100g of ricotta.


4. Mix 250g of ricotta cheese with 1 egg, add a pinch of salt.


5. Dress a mould with the Brisèe dough covering the borders as well. Cut the excess of the dough, we'll need it for decoration.


6. Pour the spinach-ricotta mix into the mould.
7. Make some "holes" in the spinach mix.


8. Pour an egg into a "hole". Repeat with other 3 eggs


9. Cover spinach with ricotta mix.
10. Pull the cut off excess of the dough to create thinner stripes.
11. Place the stripes as a grate, that is crisscross.

12. Turn the borders of the dough inside and pinch them each and every 2 cm.
13. Bake the pie in the preheated oven at 200C for 20-25 minutes till it has a nice golden colour of the crust.


Serve warm or cold as an appetizer or snack.
Note: To make 8 servings, try to find where the eggs are: you will find the 4 bumps. Cut the pie between the eggs into 4 parts and again cut over the eggs to half them.  


Happy Easter!!! 


Friday, 29 March 2013

Easter Eggs Coloured with Onion Skin

Easter is on the threshold...The best Easter decoration and an absolute must of the event is Painted Eggs!!! 
The tradition of the egg colouring has very antique routes and goes back to the Antient Egypt. They used to offer the coloured egg to their pagan gods... then as it usually turned out, the pagan customs were transformed into the ones of such a monotheistic religion as Christianity. But I wouldn't like to enter this very delicate subject of theology... I just want to specify that for the Christians the Red coloured eggs symbolize the Christ's blood shed when he was crucified and, as an egg itself has always meant the fertility and rebirth, for Christians the Easter egg symbolizes the rebirth of Christ after his death on the cross.... 
The eggs are usually painted red in the Eastern Christians' tradition even nowadays, the Catholic Christians though still have a tradition of eating boiled eggs for Easter but use the Chocolate ones as a gift!
As for my own tradition, I combine both: my good old family tradition and my being an eternal child somewhere in my heart... 
So, I paint my Easter eggs in RED and expect a chocolate one with a surprise inside from my husband. 


INGREDIENTS:
Servings: -

~ 5-6 onions
2 tbs salt
1.5 lt water
eggs
vegetable oil


First we prepare the onion dye:

1. Peel the skin of the onion, just the dry part.
Note: I usually start collecting the onion skin a month before Easter comes.
Note: Keep the peeled onions in fridge.
 

2. Use an old pan (it may get painted)
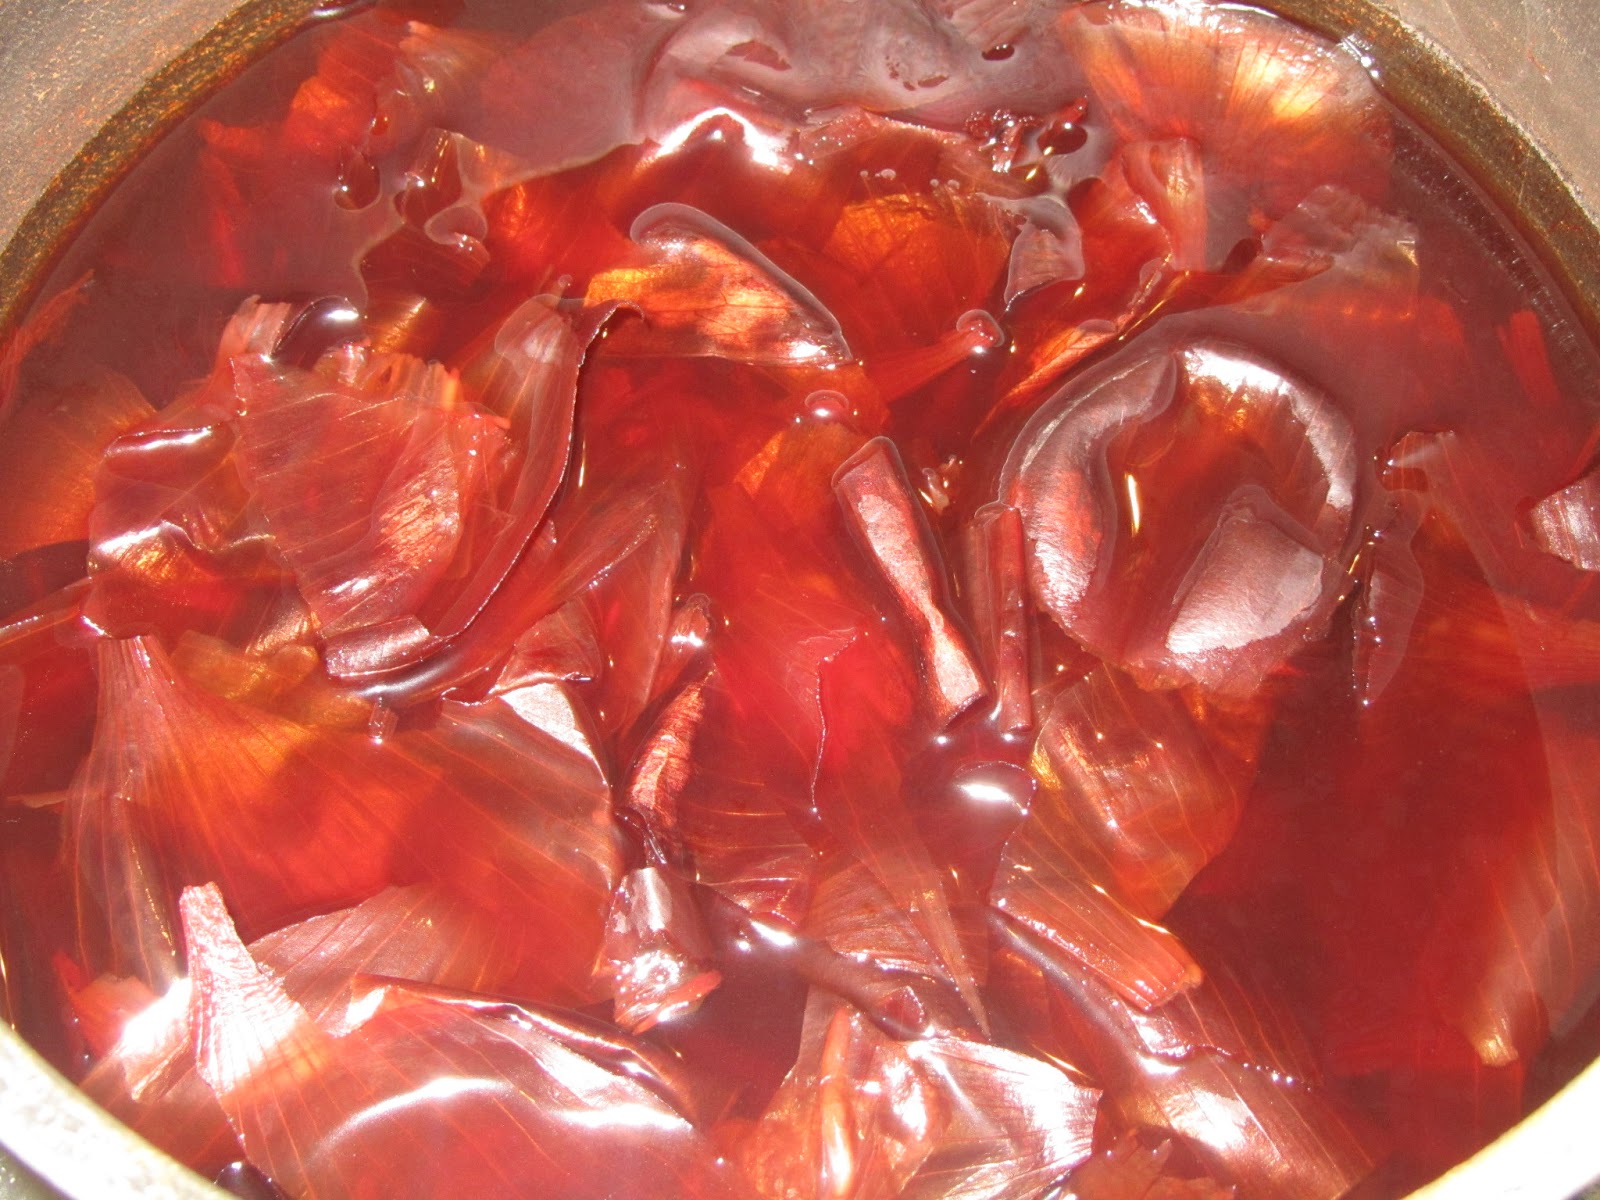
3. Pour 1.5 lt of water into the pan and add the onions skin and 2tbs of salt.


4. Simmer for about 45 minutes, the dye will get a nice dark red colour by the end.
5. Cool the dye with the onion skin.

When the dye is cold we may proceed to boiling the eggs.

6. Choose the eggs that don't have any cracks.

7. As the water is already salted the egg won't break while boiling, so just place the eggs into the pan with the cold dye and cover with the onion skin. The water should cover the eggs completely. 
8. Boil the eggs for 15-20 minutes.
9. Pour some oil on a paper towel and rub it over each egg, they will become very glossy and attractive! This is my great grand mother's secret!!!
Note: The onion skin has an antiseptic property so the boiled eggs will last for many days. You may keep them refrigerated ....
 
         
 Happy Easter !!!